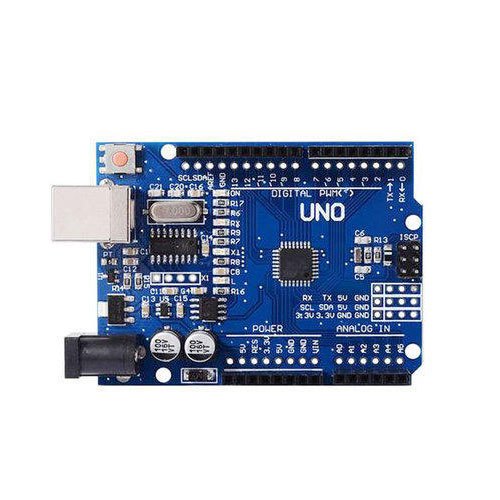

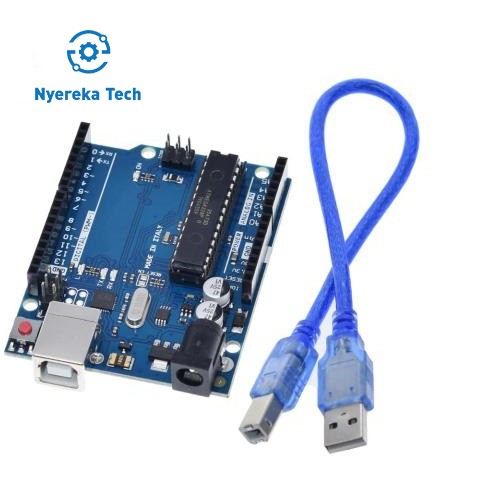
Arduino UNO R3 removable IC Chip with USB CABLE
Price:
RWF 15,000Added to Cart!
Need help or have questions about this product?
Contact STS Support →Product Description
Key features include:
- Removable ATmega328P microcontroller for easy upgrades
- Standard Arduino UNO form factor for compatibility with shields and accessories
- USB interface for simple programming and connectivity
- Wide support across Arduino IDE and third-party platforms
The UNO is the most used and documented board of the whole Arduino family.
Specifications
- Condition: New
- Model Number: UNO REV3
- Application: Computer
- Operating Temperature: -5-40?
- Supply Voltage: 7-12 V
- is_customized: Yes
- Microcontroller: ATmega328P IC
- Operating Voltage: 5 V
- Input Voltage: 7-12 V
- PWN Digital/O Pins: 6
- Analog Input Pins: 6
- DC Current per I/O Pin: 20 mA
- DC Current For 3.3V Pin: 50 mA
- SRAM: 2 KB
- EEPROM: 1 KB
- Clock Speed: 16 Mhz
Pinout Diagram

Getting started
Arduino UNO board is a fantastic way to dive into electronics and programming. If you're ready to begin, here's a quick guide to help you launch your first project:
Steps to Get Started with Arduino UNO:
- Get the Hardware
- Arduino UNO board (with removable IC if available)
- USB cable to connect the board to your computer
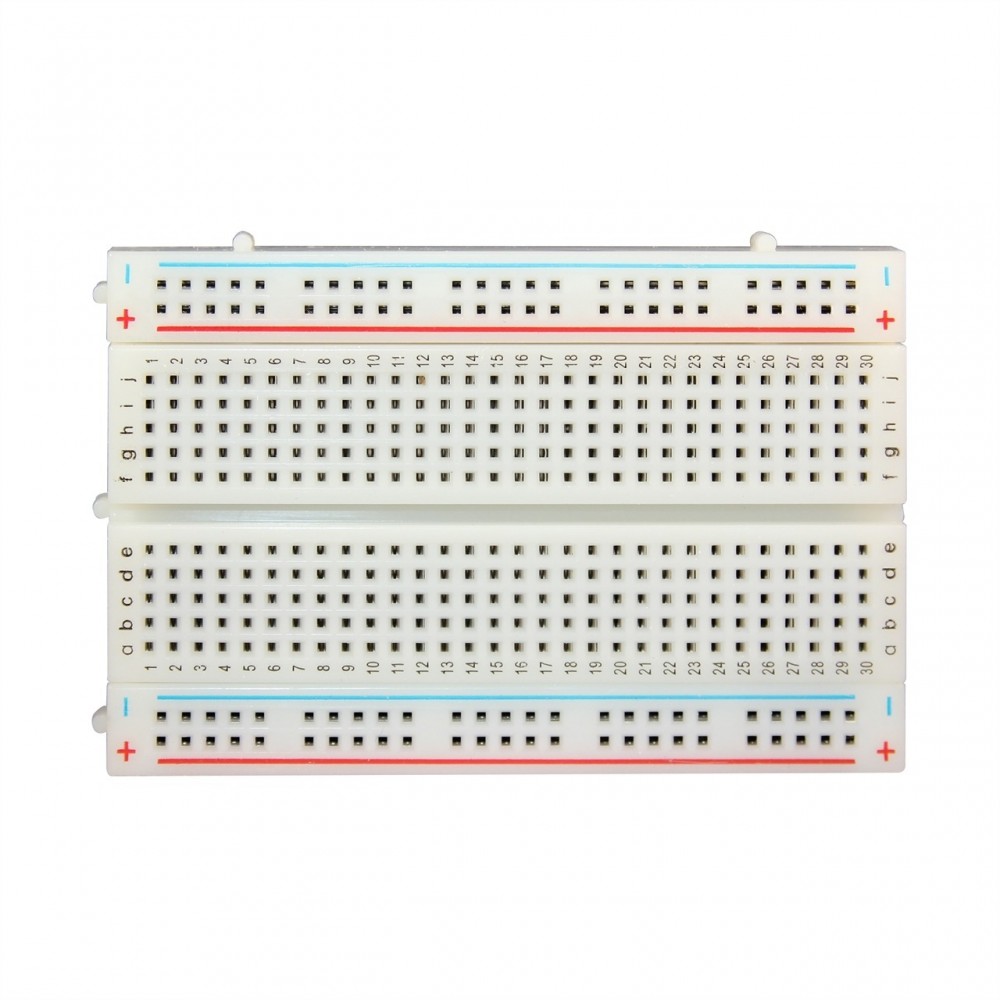
- Sensors, LEDs, and other basic components like resistors and breadboards
- Install the Arduino IDE
Download the Arduino IDE and install it on your computer to program your board. - Set Up Your Arduino
- Plug in your Arduino UNO via USB.
- Open the Arduino IDE, and under the "Tools" menu, select "Arduino UNO" as your board.
- Choose the correct port from "Tools > Port."
- Write Your First Code (Blink an LED)
Here's a simple LED blink example:
void setup() {

pinMode(13, OUTPUT);  // Set digital pin 13 as an output

}
digitalWrite(13, HIGH); // Turn the LED on
delay(1000); // Wait for a second
digitalWrite(13, LOW); // Turn the LED off
delay(1000); // Wait for a second
}
Upload this to your board and watch the onboard LED blink! - Explore Projects
Check out tutorials on the Arduino Project Hub for more advanced projects like building robots, automation systems, or IoT devices. - Experiment and Prototype
Start connecting sensors, motors, or displays to create interactive systems. The removable IC on the Arduino UNO allows you to easily swap out or upgrade components for future projects.
Project you can do:
With the Arduino UNO board featuring a removable IC, you can undertake a variety of exciting and educational projects, thanks to its versatility and ease of use. Here are some project ideas:
1. Smart Home Automation System
Use the Arduino UNO to control lighting, temperature, and appliances in your home.
2. Weather Monitoring Station
Create a DIY weather station that monitors temperature, humidity, and atmospheric pressure using sensors. Display the data on an LCD screen or upload it to a cloud service for real-time tracking.
3. Remote-Controlled Robot
Build a simple robot that can be controlled via Bluetooth or Wi-Fi. The removable IC allows for easy upgrades to the robot's control system, enabling better functionality as your project progresses.
4. Security System with RFID Access
Develop a security system using an RFID module to grant access to authorized users. You can program the Arduino UNO to store authorized RFID tags and trigger alarms or door locks.
5. Interactive LED Display
Use the Arduino UNO to control an LED matrix display for animations, text scrolling, or lighting effects. This project is great for learning about controlling multiple LEDs and managing power efficiently.
6. Automated Plant Watering System
Create a smart gardening system that automatically waters plants based on soil moisture levels.
7. 3D Printer Controller
Use the Arduino UNO with a removable IC to control the movement and temperature in a DIY 3D printer. It can serve as the brain for your printing system, controlling motors and monitoring sensors.
8. IoT Data Logger
Combine the Arduino UNO with a Wi-Fi module to create a system that logs data from sensors (like temperature or humidity) and uploads it to an IoT platform for remote monitoring and analysis.
9. Game Console Emulator
Build a simple handheld game console using the Arduino UNO. Connect buttons, an LCD screen, and a speaker to play classic games programmed into the microcontroller.
10. Energy Monitoring System
Develop a system that measures energy consumption in your home or specific appliances.
Package include
- Arduino Uno Board
- USB Cable
Why Buy from SoftTech Supply?
- Genuine electronic components from trusted suppliers
- Competitive prices on Arduino, Raspberry Pi, sensors & more
- Fast delivery across Kigali and Rwanda
- Expert technical support and project consultation
- Easy returns and quality guarantee
Related Products
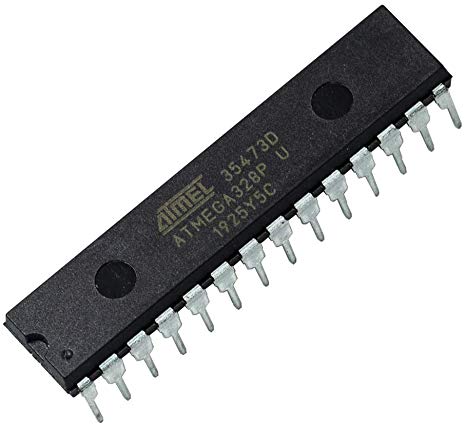
ATMEGA328P-PU
Buy Arduino UNO R3 removable IC Chip with USB CABLE at STS - Kigali, Rwanda
Arduino UNO R3 removable IC Chip with USB CABLE is available at SoftTech Supply, your trusted electronics shop in Kigali, Rwanda. We stock genuine electronic components including Arduino boards, Raspberry Pi, ESP32, ESP8266, various sensors, motors, displays, and thousands of other components for your IoT, embedded systems, and electronics projects. Visit our shop or order online for fast delivery across Rwanda. Need help selecting components or implementing your project? Contact STS for expert technical support and consultation.
