How to Install the Arduino IDE and Get Started on Your Computer
Components used:
📖 Overview
In this tutorial, you will learn how to install the Arduino Integrated Development Environment (IDE) on your computer and start using it with the Arduino Uno R3 board. The Arduino Uno is a popular microcontroller board used for a wide range of projects, from basic electronics to complex robotics and automation systems. By the end of this tutorial, you will be able to write, upload, and run your first Arduino program.
The Arduino IDE is a free, open-source software that allows you to write, compile, and upload code to your Arduino board. It provides a user-friendly interface for programming and debugging your projects. With the Arduino IDE, you can create interactive projects that can sense and respond to their environment, making it a great tool for prototyping and building innovative solutions. In the context of Rwanda and East Africa, the Arduino platform can be used to develop projects that address local challenges, such as agricultural monitoring systems, smart home security solutions, and automated systems for small-scale industries.
Throughout this tutorial, you will learn how to:
- Download and install the Arduino IDE on your computer
- Connect your Arduino Uno board to your computer using a USB cable
- Write and upload your first Arduino program
- Use the Arduino IDE to debug and troubleshoot your projects
The skills you acquire in this tutorial will be useful for a wide range of applications, from hobbyist projects to professional engineering and development work. With the Arduino platform, you can create innovative solutions that can make a positive impact in your community and beyond. Whether you are a student, a maker, or a professional, this tutorial will provide you with the knowledge and skills you need to get started with the Arduino IDE and unlock the full potential of the Arduino platform.
🔌 Components & Wiring Guide
Components & Wiring Guide
The following components are required for this tutorial:- Computer: The device used to run the Arduino IDE and program the Arduino Uno.
- Internet connection: Required for downloading the Arduino IDE and any necessary libraries or updates.
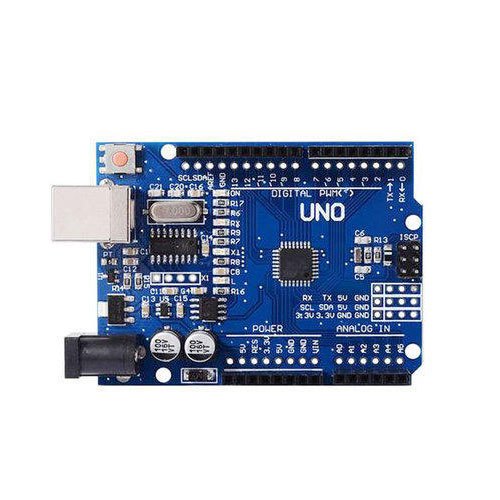
- Arduino Uno R3 With USB Cable: The microcontroller board that will be programmed using the Arduino IDE.
Wiring the Arduino Uno
The following table summarizes the pin connections for the Arduino Uno:| Pin | Description |
|---|---|
| USB | Connects the Arduino Uno to the computer for programming and power. |
| 5V | Provides 5V power output from the Arduino Uno. |
| 3.3V | Provides 3.3V power output from the Arduino Uno. |
| GND | Ground pin, used as a reference point for all other pins. |
| Digital Pins (0-13) | Used for digital input/output operations. |
| Analog Input Pins (A0-A5) | Used for analog input operations. |
Safety Note
When working with electronics, it is essential to handle the components with care to avoid damage or injury. Since the Arduino Uno is powered via USB, there is no risk of mains voltage or high current. However, it is still important to handle the board and cables with care to avoid damage or electrical shock. If you are not comfortable working with electronics, consider seeking guidance from an experienced instructor or mentor.🛠️ Step-by-Step Guide
Introduction to Arduino IDE Installation
In this tutorial, we will guide you through the process of installing the Arduino Integrated Development Environment (IDE) on your computer and getting started with your Arduino Uno R3 board. The Arduino IDE is a free, open-source software that allows you to write, compile, and upload code to your Arduino board.
Setting Up the Arduino IDE
To install the Arduino IDE, follow these steps:
- Go to the official Arduino website (https://www.arduino.cc/en/software/) and download the latest version of the Arduino IDE for your operating system (Windows, macOS, or Linux).
- Once the download is complete, run the installation file and follow the prompts to install the Arduino IDE.
- After installation, launch the Arduino IDE on your computer.
Wiring Recap and Board Connection
Before you start using your Arduino Uno R3 board, make sure you have the following:
- An Arduino Uno R3 board
- A USB cable
- A computer with the Arduino IDE installed
Connect the Arduino Uno R3 board to your computer using the USB cable. The USB cable provides power to the board and allows you to communicate with it.
Configuring the Arduino IDE
To configure the Arduino IDE, follow these steps:
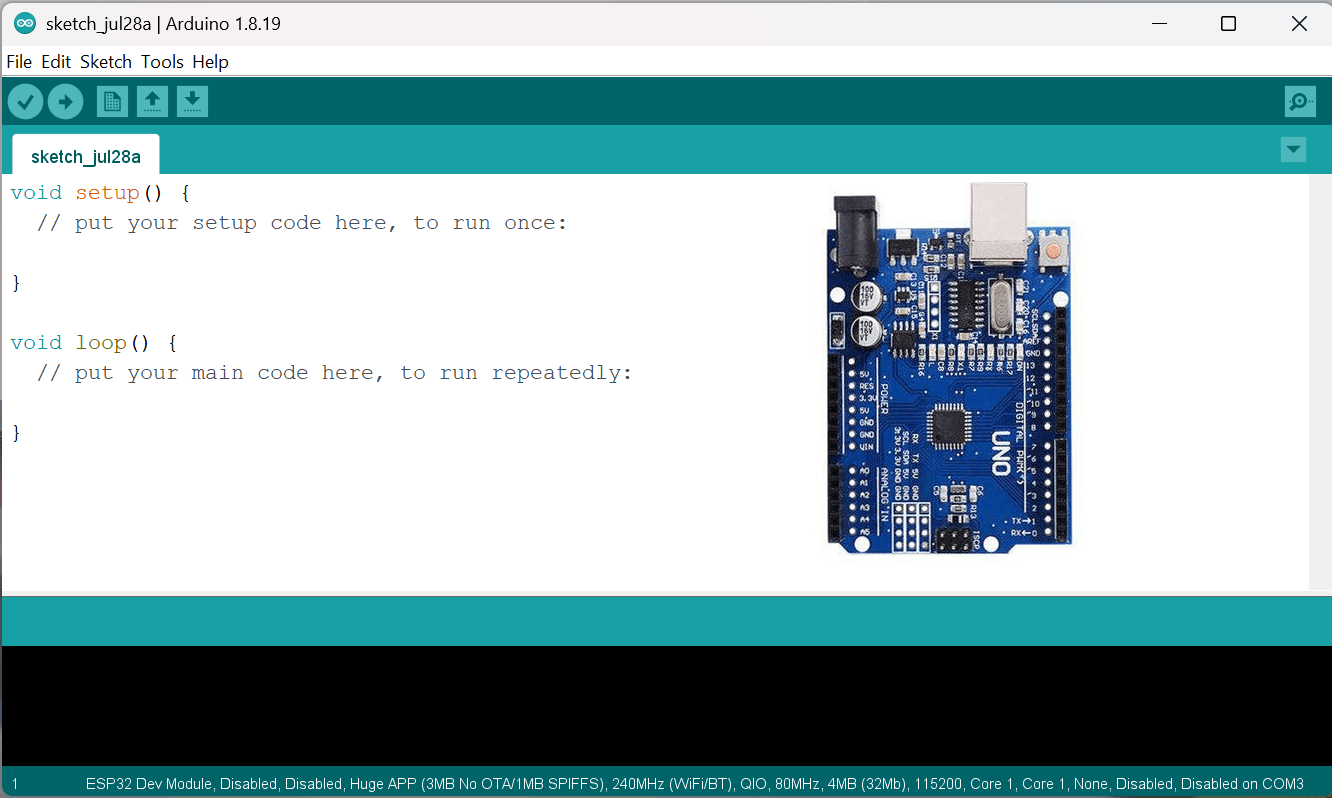
- Launch the Arduino IDE on your computer.
- Select the Arduino Uno R3 board from the
Tools>Boardmenu. - Select the correct serial port from the
Tools>Portmenu. The serial port is usually labeled asCOM3or/dev/ttyUSB0.
Uploading Firmware to the Arduino Board
To upload firmware to the Arduino board, follow these steps:
- Open a new sketch in the Arduino IDE by selecting
File>New Sketch. - Write your code in the sketch, or open an example sketch from the
File>Examplesmenu. - Click the
Verifybutton to compile the code. - Click the
Uploadbutton to upload the code to the Arduino board.
Testing and Troubleshooting
After uploading the firmware to the Arduino board, you can test it to make sure it is working as expected. If you encounter any issues, here are some troubleshooting tips:
- Check the serial port and board configuration to ensure they are correct.
- Verify that the code is compiled correctly and uploaded to the board.
- Check the wiring and connections to ensure they are secure and not damaged.
Safety Note
When working with electronics, it is essential to take safety precautions to avoid injury or damage to your components. Make sure to:
- Handle the Arduino board and components with care to avoid static electricity damage.
- Avoid touching electrical components or wires with your bare hands.
- Keep the workspace clean and organized to avoid accidents.
In Rwanda, you can source Arduino boards and components from local electronics shops such as SoftTech Supply in Kigali. You can also find online communities and forums to connect with other makers and get help with your projects.
💻 Sample Code
### Introduction to Arduino IDE Installation
To start working with Arduino, you need to install the Arduino Integrated Development Environment (IDE) on your computer. This tutorial will guide you through the installation process and getting started with your Arduino Uno R3.

### System Requirements and Installation
Ensure your computer meets the minimum system requirements for the Arduino IDE. You can download the IDE from the official Arduino website. Follow these steps:
* Visit the Arduino website and download the latest version of the Arduino IDE for your operating system.
* Run the installer and follow the prompts to install the Arduino IDE.
* Once installed, launch the Arduino IDE to verify that it is working correctly.

### Connecting the Arduino Uno R3
Connect your Arduino Uno R3 to your computer using the provided USB cable.
* Plug the USB cable into your computer and the other end into the Arduino Uno R3.
* The Arduino Uno R3 will be powered via the USB connection, so you do not need an external power source for now.

### Safety Note
When working with electronics, ensure you handle the components with care. Although the Arduino Uno R3 is a low-voltage device, it's essential to avoid touching the electrical components or wires to prevent damage or injury.

### Writing and Uploading Your First Sketch
Create a new project in the Arduino IDE and write your first sketch. Here's an example code to get you started:

// Define the LED pin
const int ledPin = 13;

void setup() {
  // Initialize the LED pin as an output
  pinMode(ledPin, OUTPUT);
}

void loop() {
  // Turn the LED on
  digitalWrite(ledPin, HIGH);
  // Wait for 1 second
  delay(1000);
  // Turn the LED off
  digitalWrite(ledPin, LOW);
  // Wait for 1 second
  delay(1000);
}

### Uploading the Sketch
Upload the sketch to your Arduino Uno R3:
* Select the correct board (Arduino Uno) and serial port from the Tools menu.
* Click the Upload button or press Ctrl+U to upload the sketch.
* Once uploaded, the Arduino Uno R3 will run the sketch, and you should see the built-in LED blinking.

### Troubleshooting
If you encounter any issues during the installation or uploading process, check the following:
* Ensure the Arduino Uno R3 is properly connected to your computer.
* Verify that you have selected the correct board and serial port in the Arduino IDE.
* Check the Arduino website for troubleshooting guides and FAQs.

### Next Steps
Now that you have installed the Arduino IDE and uploaded your first sketch, you can explore more advanced projects and tutorials. Consider visiting the SoftTech Supply website for local resources and workshops on Arduino and embedded systems in Rwanda. Some potential projects include:
* Automating farm irrigation systems using sensors and Arduino.
* Developing a home security system using Arduino and motion sensors.
* Creating a smart home automation system using Arduino and Wi-Fi modules.
📝 Check Your Understanding
1. What is the primary function of the Arduino IDE in relation to your Arduino Uno R3 board?
   a) To provide power to the board
   b) To write, edit, and upload code to the board
   c) To connect the board to the internet
   d) To debug hardware issues
   Answer: b

2. Which of the following is a required component for installing the Arduino IDE on your computer?
   a) Arduino Uno R3 board
   b) Internet connection
   c) USB cable
   d) All of the above
   Answer: b

3. What should you do after connecting your Arduino Uno R3 to your computer via a USB cable?
   a) Open the Arduino IDE and select the board type
   b) Start writing code immediately
   c) Disconnect the board and reconnect it
   d) Turn off your computer
   Answer: a

4. Where can you find the example sketches in the Arduino IDE to help you get started with your projects?
   a) Under the "File" menu
   b) Under the "Edit" menu
   c) Under the "Tools" menu
   d) Under the "Help" menu
   Answer: a

5. What is the purpose of selecting the correct serial port in the Arduino IDE before uploading code to your Arduino Uno R3?
   a) To connect to the internet
   b) To select the board type
   c) To ensure the code is uploaded to the correct board
   d) To change the coding language
   Answer: c
Need the Components for This Project?
If you don't already have the components listed above, you can buy genuine Arduino, ESP32, Raspberry Pi, sensors, and other electronic components from SoftTech Supply Shop, with fast delivery across Kigali and other parts of Rwanda.
← Browse more Arduino & IoT tutorialsRelated Tutorials
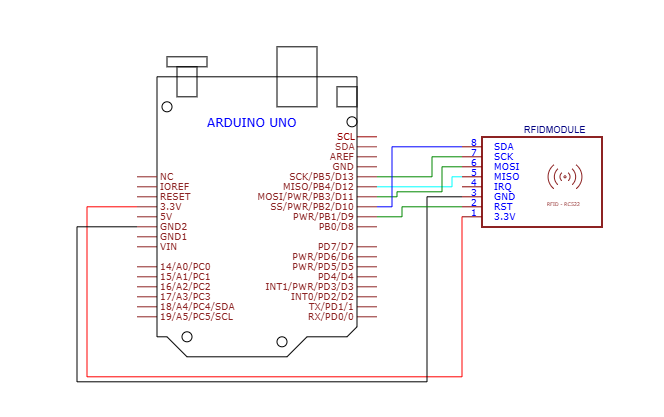
How to use RFID Reader Module 13.56Mhz with an Arduino UNO
RFID Reader Module 13.56Mhz, Arduino Uno R3 With USB Cable, Male to Male Jumper Wires, Breadboard 830 Point Solderless
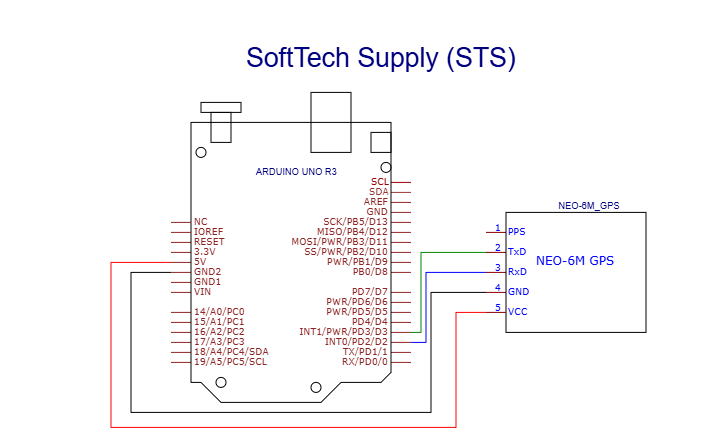
How to use ATGM336H GPS+BDS Module with Antenna with an Arduino Uno
ATGM336H GPS+BDS Module with Antenna, Arduino Uno R3 With USB Cable, Male to Male Jumper Wires, Breadboard 830 Point Solderless
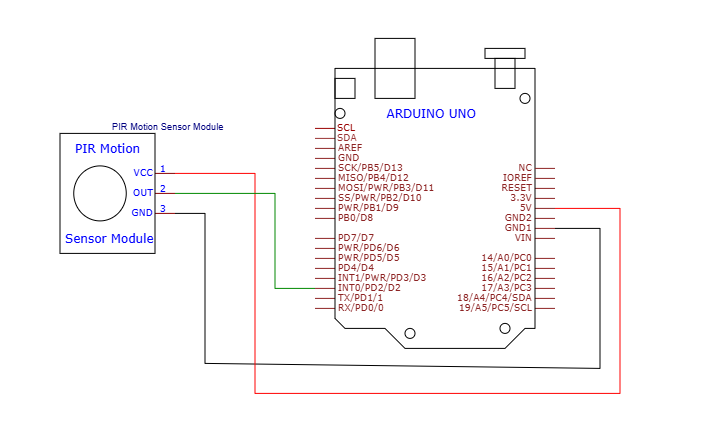
How to Use the HC-SR501 PIR Motion Sensor Module with an Arduino Uno
Arduino Uno R3 With USB Cable, Male to Male Jumper Wires, Breadboard 830 Point Solderless, HC-SR501 PIR module Sensor Detector Module
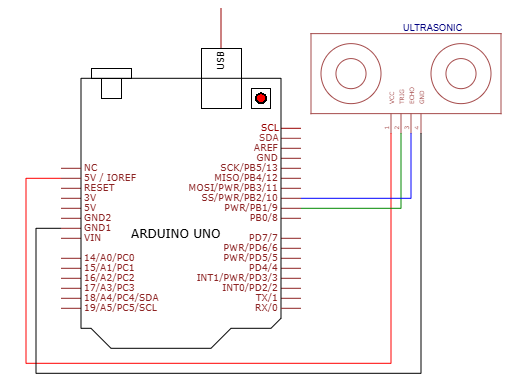
How to use HC-SR04 Ultrasonic Sensor on Arduino UNO
HC-SR04 Ultrasonic Sensor, Arduino Uno R3 With USB Cable, Male to Male Jumper Wires, Breadboard 830 Point Solderless