How to use RFID Reader Module 13.56Mhz with an Arduino UNO
📖 Overview
This tutorial is designed for beginners to learn how to use the RFID Reader Module 13.56Mhz with an Arduino UNO for a simple attendance project. By the end of this tutorial, students will be able to create a system that can read RFID tags and display user information in the serial monitor.
The project involves connecting the RFID Reader Module to the Arduino UNO, writing a code to read the RFID tags, and displaying the user information in the serial monitor. This project has various applications in Rwanda and East Africa, such as in schools, offices, and homes, where attendance tracking and access control are essential.
Students will learn how to connect the RFID Reader Module to the Arduino UNO, how to write a code to read the RFID tags, and how to display the user information in the serial monitor. They will also learn how to use the RFID library in Arduino and how to troubleshoot common issues. The skills learned in this tutorial can be applied to various projects, such as:
- Attendance tracking systems
- Access control systems
- Smart home security systems
- Agricultural monitoring systems
The RFID Reader Module 13.56Mhz is a widely used module in various applications, and learning how to use it with an Arduino UNO will open up a world of possibilities for students to create innovative projects. The module is readily available at SoftTech Supply in Kigali, Rwanda, and students can easily source the other required components, such as jumpers and a breadboard, from local electronics shops.
🔌 Components & Wiring Guide
Components & Wiring Guide
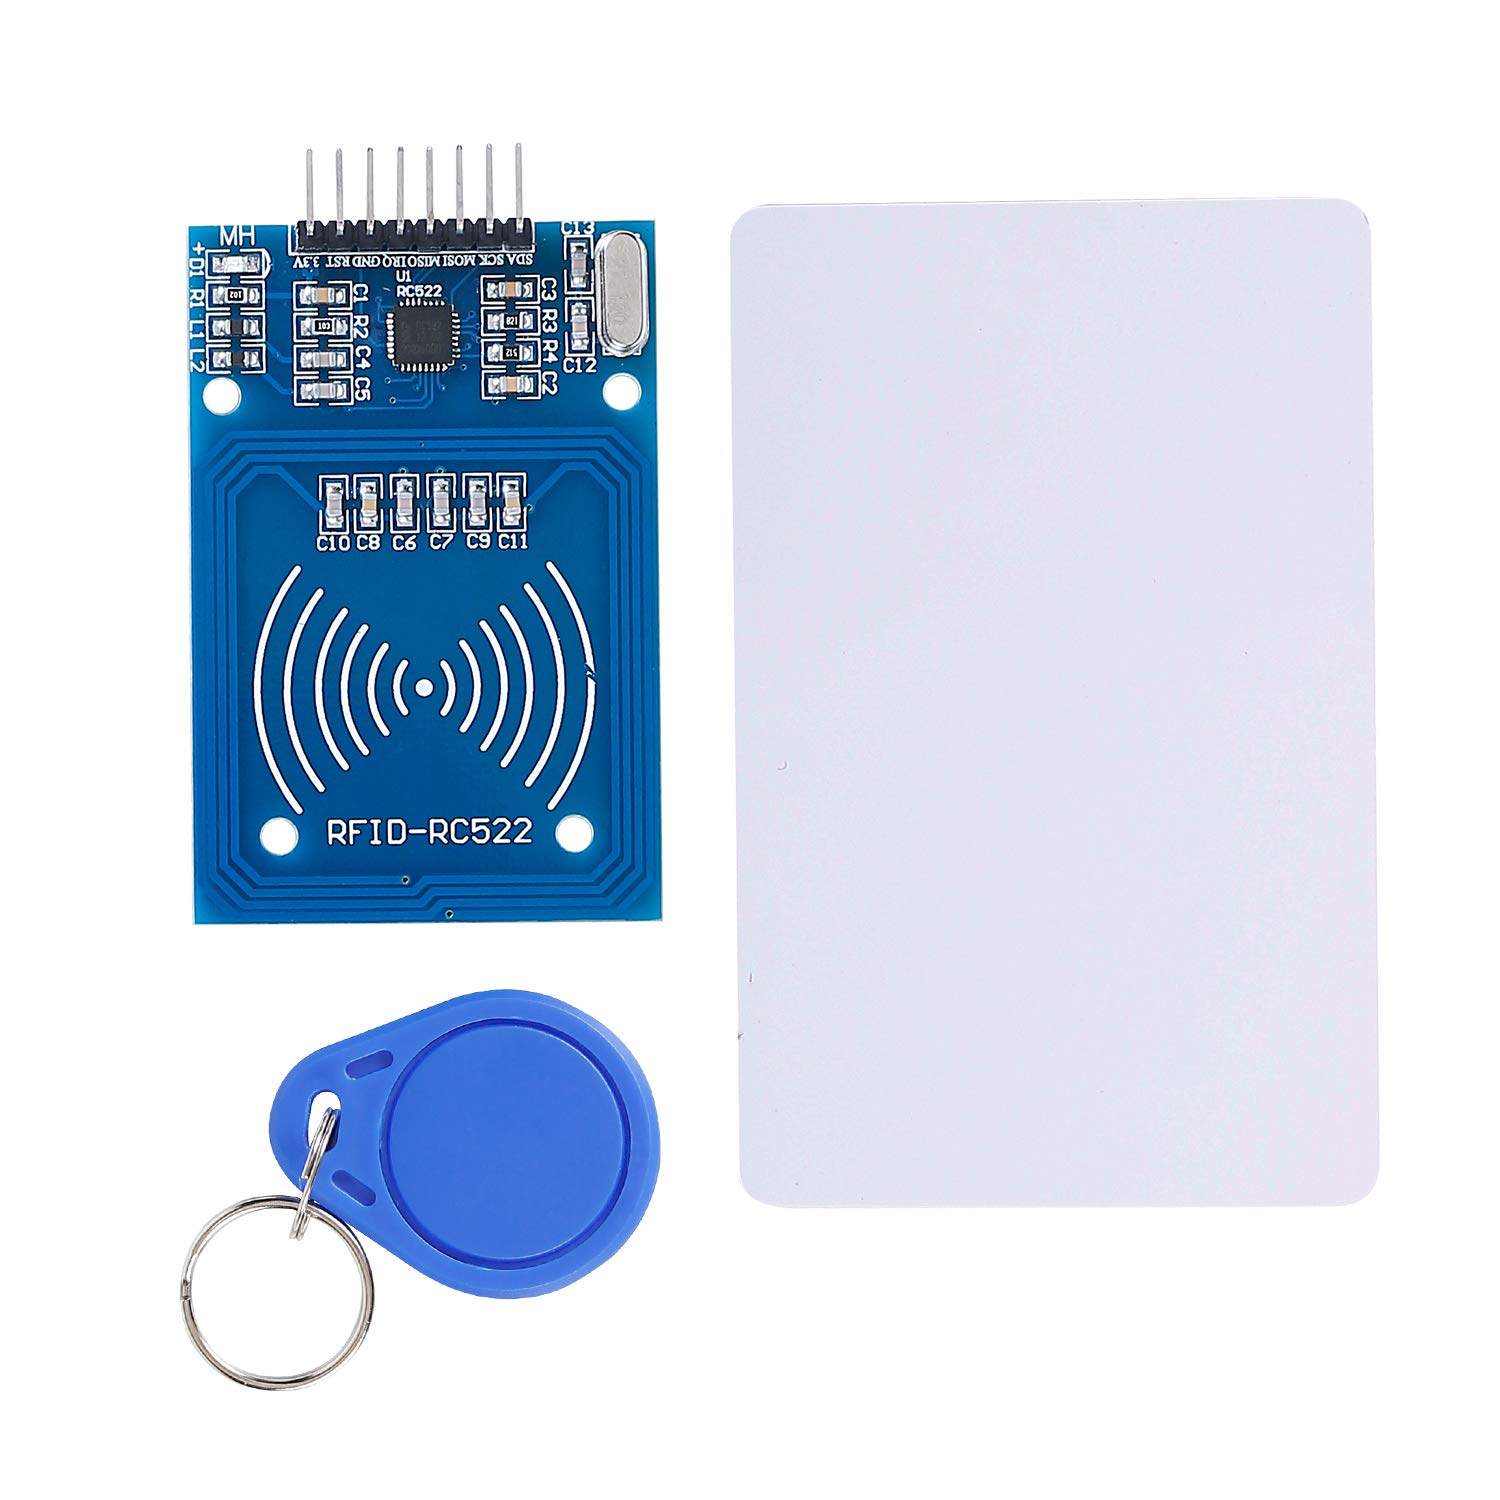
The components required for this project are:- RFID-RC522 Reader Module 13.56MHz: Reads RFID cards/tags and sends the card UID data to the Arduino using SPI communication.
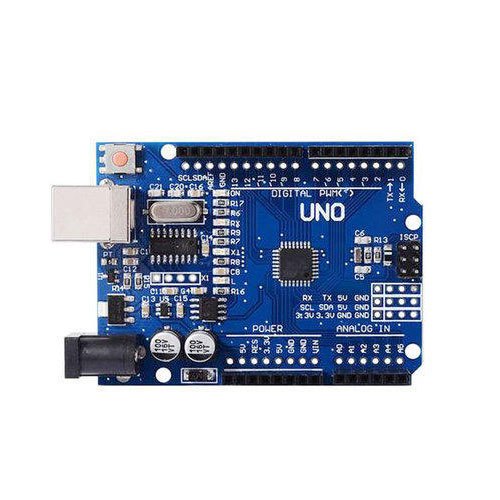
- Arduino UNO: The microcontroller board that processes RFID data and displays student information through the Serial Monitor.
- RFID Cards/Tags: Used as student identification cards containing a unique UID.
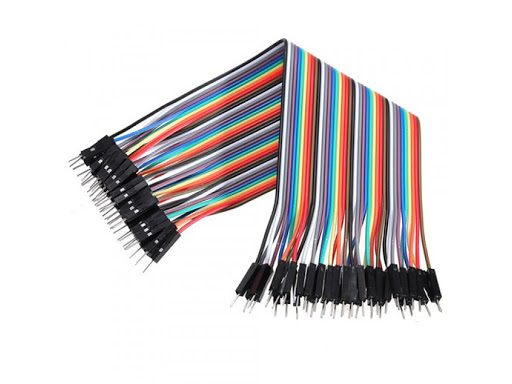
- Jumper Wires: Used to connect the RFID module pins to the Arduino UNO.
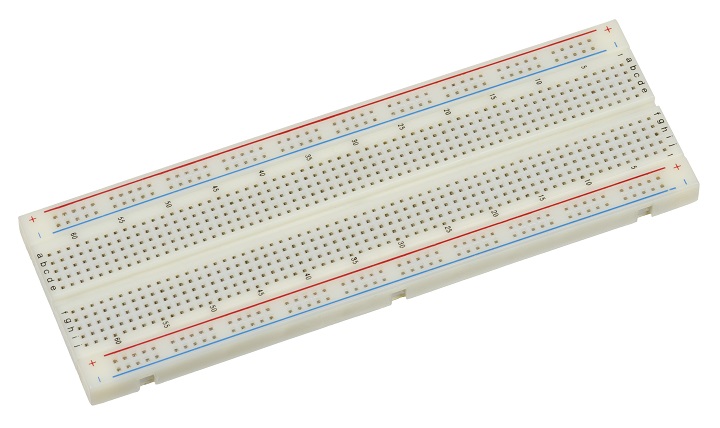
- Breadboard (Optional): Provides a convenient platform for organizing and connecting electronic components.
Connecting the RFID-RC522 Module to Arduino UNO
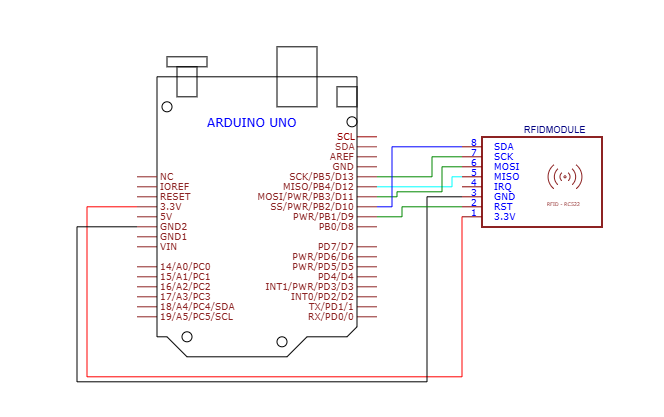
To connect the components, place the Arduino UNO and RFID-RC522 module on the breadboard. Use jumper wires to connect the RFID module to the Arduino UNO according to the following connections:- Connect the VCC pin of the RFID module to the 3.3V pin of the Arduino UNO.
- Connect the GND pin of the RFID module to the GND pin of the Arduino UNO.
- Connect the SDA (SS) pin of the RFID module to Digital Pin 10 of the Arduino UNO.
- Connect the SCK pin of the RFID module to Digital Pin 13 of the Arduino UNO.
- Connect the MOSI pin of the RFID module to Digital Pin 11 of the Arduino UNO.
- Connect the MISO pin of the RFID module to Digital Pin 12 of the Arduino UNO.
- Connect the RST pin of the RFID module to Digital Pin 9 of the Arduino UNO.
- The IRQ pin is optional and does not need to be connected.
RFID-RC522 Module Pin Connections
The following table summarizes the RFID module pin connections:| RFID-RC522 Pin | Arduino UNO Pin |
|---|---|
| VCC | 3.3V |
| GND | GND |
| SDA (SS) | Digital Pin 10 |
| SCK | Digital Pin 13 |
| MOSI | Digital Pin 11 |
| MISO | Digital Pin 12 |
| RST | Digital Pin 9 |
| IRQ | Not Connected |
Important Notes
- The RFID-RC522 module operates at 3.3V. Do not connect VCC to the Arduino UNO 5V pin because it may damage the RFID module.
- The RC522 communicates with the Arduino UNO using the SPI communication protocol.
- Each RFID card has a unique UID that can be used to identify students in an attendance system.
- Handle electronic components carefully and avoid short circuits when making connections.
For students in Rwanda, the required components for this project can be sourced from local electronics suppliers such as SoftTech Supply in Kigali.
🛠️ Step-by-Step Guide
Introduction to RFID-RC522 Reader Module 13.56MHz
The RFID-RC522 Reader Module 13.56MHz is a widely used RFID (Radio Frequency Identification) module for applications such as access control systems, attendance monitoring, smart cards, and inventory tracking. In this tutorial, students will learn how to connect the RFID-RC522 module with an Arduino UNO, read RFID card information, and create a simple attendance system that displays student details in the Serial Monitor.
Setting Up the Hardware Components
To build this project, prepare the following hardware components:
- RFID-RC522 Reader Module 13.56MHz
- Arduino UNO Board
- RFID Cards or Tags
- Jumper Wires
- Breadboard (optional)
These components can be obtained from electronics suppliers in Kigali, such as SoftTech Supply. The RFID-RC522 module will read the unique identification number (UID) of each RFID card, while the Arduino UNO processes the data and displays the registered student's information through the Serial Monitor.
Wiring the RFID-RC522 Module to Arduino UNO
The RFID-RC522 communicates with the Arduino UNO using the SPI communication protocol. Connect the module as follows:
- VCC → 3.3V on Arduino UNO
- GND → GND on Arduino UNO
- SDA (SS) → Digital Pin 10 on Arduino UNO
- SCK → Digital Pin 13 on Arduino UNO
- MOSI → Digital Pin 11 on Arduino UNO
- MISO → Digital Pin 12 on Arduino UNO
- RST → Digital Pin 9 on Arduino UNO
- IRQ → Not Connected
Use jumper wires to connect the RFID module and Arduino UNO carefully. Ensure that the RFID module is powered using the Arduino's 3.3V pin because the RC522 module is not designed for 5V operation.
Installing the Required Library and Uploading Code
Before programming the Arduino UNO, install the MFRC522 library from the Arduino Library Manager:
- Open Arduino IDE.
- Go to Sketch → Include Library → Manage Libraries.
- Search for MFRC522.
- Install the MFRC522 library.
After installing the library, upload the RFID attendance program to the Arduino UNO. The program reads the RFID card UID, compares it with registered users, and displays student information such as name, ID, and attendance status in the Serial Monitor.
Testing the RFID Attendance System
After uploading the program, test the RFID-RC522 module by scanning an RFID card near the reader. Follow these steps:
- Connect the Arduino UNO to the computer using a USB cable.
- Open the Arduino Serial Monitor.
- Set the baud rate to 9600.
- Place an RFID card close to the RC522 reader.
- Check the displayed UID and student information in the Serial Monitor.
Example output:
Card Detected
UID: A1B2C3D4

Name   : Jean Claude
ID     : STS001
Course : Arduino Programming
Status : Attendance Recorded
Troubleshooting Tips
If the RFID-RC522 module does not detect cards, check the following:
- Confirm that all wiring connections match the SPI pin configuration.
- Ensure the RFID module is connected to the Arduino 3.3V pin, not 5V.
- Verify that the MFRC522 library is correctly installed.
- Try another RFID card/tag to confirm compatibility.
- Move the RFID card closer to the reader because the RC522 has a limited reading distance.
Safety Note
When working with electronic components, handle the modules carefully and avoid creating short circuits. The Arduino UNO and RFID-RC522 operate at low voltage, but proper connection practices should always be followed to prevent damage to the components.
💻 Sample Code
/*
  RFID Attendance System
  Board: Arduino UNO
  RFID Module: RC522 (13.56 MHz)

  To access the complete step-by-step tutorial, including hardware setup, wiring diagram, Arduino code, and testing instructions, visit: https://softechsupply.com/courses/how-to-use-rfid-reader-module-1356mhz-with-an-arduino-uno

  Connections
  -------------------------
  RC522    Arduino UNO
  SDA  ->  D10
  SCK  ->  D13
  MOSI ->  D11
  MISO ->  D12
  RST  ->  D9
  GND  ->  GND
  3.3V ->  3.3V
*/

#include <SPI.h>
#include <MFRC522.h>

#define SS_PIN 10
#define RST_PIN 9

MFRC522 rfid(SS_PIN, RST_PIN);

void setup() {
  Serial.begin(9600);
  SPI.begin();
  rfid.PCD_Init();

  Serial.println("==================================");
  Serial.println(" RFID Attendance System");
  Serial.println(" Scan your RFID card...");
  Serial.println("==================================");
}

void loop() {

  // Look for a new card
  if (!rfid.PICC_IsNewCardPresent())
    return;

  // Select one of the cards
  if (!rfid.PICC_ReadCardSerial())
    return;

  // Read UID
  String uid = "";

  for (byte i = 0; i < rfid.uid.size; i++) {
    if (rfid.uid.uidByte[i] < 0x10)
      uid += "0";

    uid += String(rfid.uid.uidByte[i], HEX);
  }

  uid.toUpperCase();

  Serial.println();
  Serial.println("Card Detected");
  Serial.print("UID: ");
  Serial.println(uid);

  // Attendance Database
  if (uid == "A1B2C3D4") {

    Serial.println("Name   : Jean Claude");
    Serial.println("ID     : STS001");
    Serial.println("Course : Arduino Programming");
    Serial.println("Status : Attendance Recorded");

  }
  else if (uid == "12345678") {

    Serial.println("Name   : Alice Smith");
    Serial.println("ID     : STS002");
    Serial.println("Course : Embedded Systems");
    Serial.println("Status : Attendance Recorded");

  }
  else {

    Serial.println("Unknown Card");
    Serial.println("Access Denied");

  }

  Serial.println("----------------------------------");

  // Stop communication with card
  rfid.PICC_HaltA();
  rfid.PCD_StopCrypto1();

  delay(1000);
}
📝 Check Your Understanding
1. Which communication protocol does the RC522 RFID module use to communicate with the Arduino Uno?
a) UART
b) I²C
c) SPI
d) Bluetooth

Answer: c) SPI

2. Which Arduino Uno pin is connected to the SDA (SS) pin of the RC522 module?
a) D9
b) D10
c) D11
d) D13

Answer: b) D10

3. What is the purpose of the RFID tag's UID (Unique Identifier)?
a) To store images
b) To identify a specific RFID card or tag
c) To measure distance
d) To control the Arduino clock

Answer: b) To identify a specific RFID card or tag

4. Which Arduino library is commonly used to interface with the RC522 RFID module?
a) Wire
b) Servo
c) LiquidCrystal
d) MFRC522

Answer: d) MFRC522

5. In the attendance project, what happens when a registered RFID card is scanned?
a) The Arduino resets.
b) The student's information is displayed in the Serial Monitor and attendance is recorded.
c) The RFID card is erased.
d) The Arduino turns off.

Answer: b) The student's information is displayed in the Serial Monitor and attendance is recorded.
Need the Components for This Project?
If you don't already have the components listed above, you can buy genuine Arduino, ESP32, Raspberry Pi, sensors, and other electronic components from SoftTech Supply Shop, with fast delivery across Kigali and other parts of Rwanda.
← Browse more Arduino & IoT tutorialsRelated Tutorials
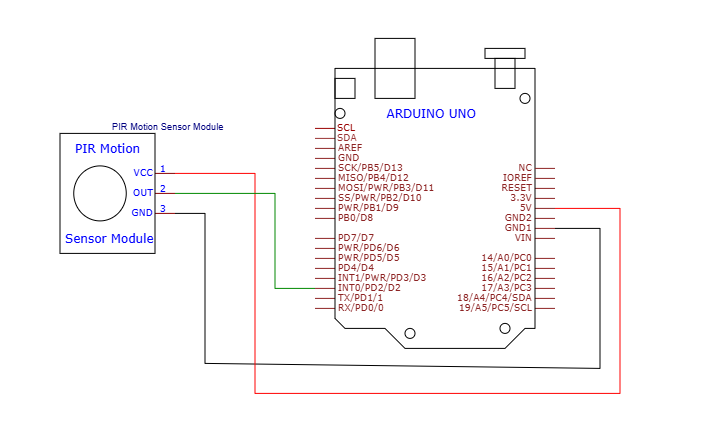
How to Use the HC-SR501 PIR Motion Sensor Module with an Arduino Uno
Arduino Uno R3 With USB Cable, Male to Male Jumper Wires, Breadboard 830 Point Solderless, HC-SR501 PIR module Sensor Detector Module
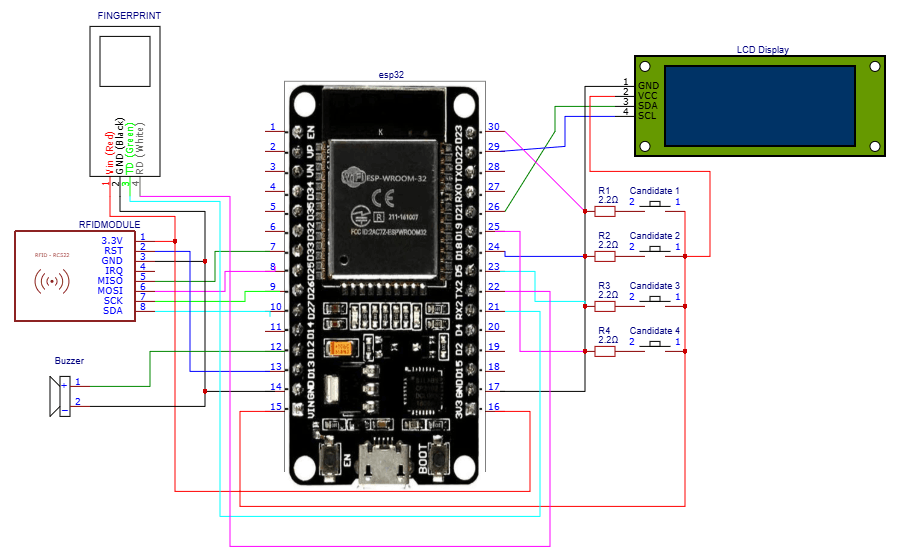
How to build an ESP32-based electronic voting system
ESP32 ESP-32 Wireless WiFi Bluetooth Development Board, 16x2LCD Display with I2C Interface, 5v active buzzer, RFID Reader Module 13.56Mhz, Push Button with cap, AS608 Fingerprint Reader Sensor Module Optical
Build a Wi-Fi Weather Station with ESP32
ESP32 ESP-32 Wireless WiFi Bluetooth Development Board, DHT22 Digital Temperature & Humidity Sensor Module, 0.96" Inch Blue I2C IIC OLED LCD Module4pin, Breadboard 830 Point Solderless, Male to Female jumper wires
How to use HC-SR04 Ultrasonic Sensor on Arduino UNO
HC-SR04 Ultrasonic Sensor, Arduino Uno R3 With USB Cable, Male to Male Jumper Wires, Breadboard 830 Point Solderless