How to use ATGM336H GPS+BDS Module with Antenna with an Arduino Uno
📖 Overview
This tutorial will guide you through building a simple GPS tracking system using the ATGM336H GPS+BDS Module with an antenna and an Arduino Uno. By the end of this project, you will have a working system that can track your location and display it in the serial monitor, complete with a link to open the location in Google Maps.
You will learn how to connect the ATGM336H GPS+BDS Module to the Arduino Uno, how to write code to read the GPS data, and how to display the location in the serial monitor. This project is perfect for beginners who want to learn about GPS technology and its applications in various fields such as agriculture, security, and smart-home solutions. For example, in Rwanda, GPS technology can be used to track the location of livestock or to monitor soil moisture levels in farms.
The skills you will learn in this tutorial are essential for building more complex projects such as GPS-based navigation systems, tracking devices, and IoT-based monitoring systems. You will also learn how to source the necessary components locally in Kigali, Rwanda, and how to troubleshoot common issues that may arise during the project. Some of the key concepts you will learn include:
- How to connect the ATGM336H GPS+BDS Module to the Arduino Uno
- How to write code to read GPS data
- How to display the location in the serial monitor
- How to use the GPS data to open the location in Google Maps
This project is a great starting point for anyone interested in learning about GPS technology and its applications, and it can be completed with minimal equipment and expertise. By the end of this tutorial, you will have a working GPS tracking system and a solid understanding of the concepts and skills required to build more complex projects.
🔌 Components & Wiring Guide
Components & Wiring Guide
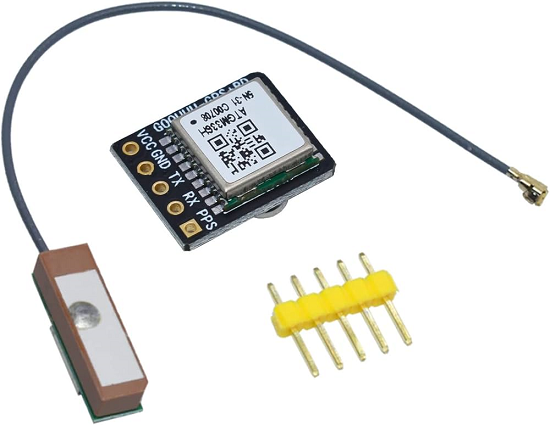
The components needed for this project are:- ATGM336H GPS+BDS Module with Antenna: receives GPS and BDS signals to determine location
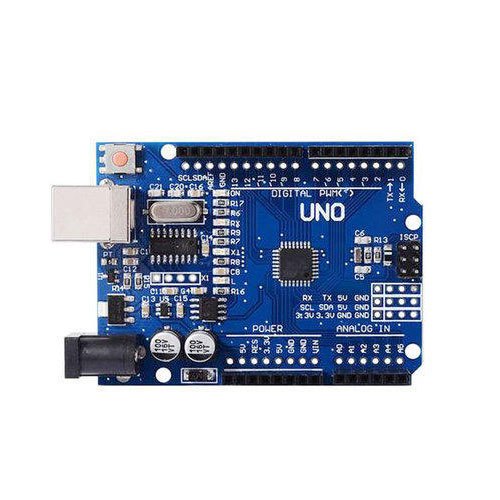
- Arduino UNO: microcontroller to process and display location data
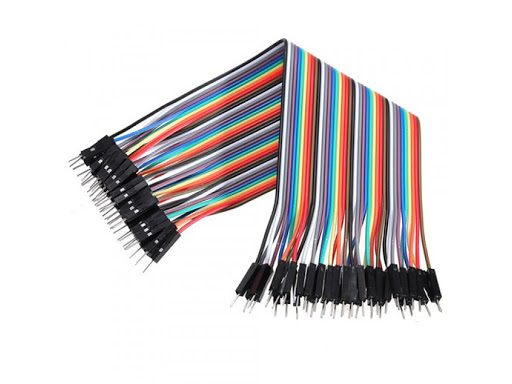
- Jumpers: connect components to the breadboard and Arduino
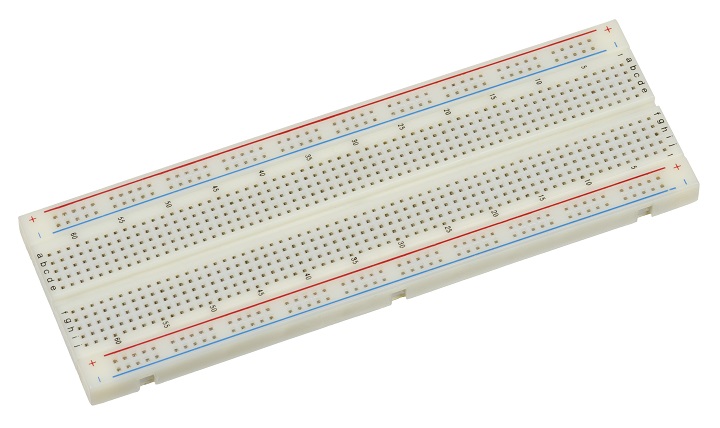
- Breadboard: platform for connecting and organizing components
Additional Considerations
When working with the ATGM336H GPS+BDS Module, ensure the antenna is positioned for optimal signal reception, ideally with a clear view of the sky. Be aware that the ATGM336H module operates at a voltage of 5V, which is compatible with the Arduino UNO. No high voltage or high current is involved in this project, but it is still essential to handle the components with care to avoid damage.🛠️ Step-by-Step Guide
Introduction to the ATGM336H GPS+BDS Module
The ATGM336H GPS+BDS Module is a compact and powerful navigation module that provides location information using both GPS and BeiDou Satellite Systems. This module is ideal for various applications, including tracking systems, navigation devices, and IoT projects. In this tutorial, we will explore how to use the ATGM336H GPS+BDS Module with an Arduino Uno to track location and display it in the serial monitor.
Setting Up the Hardware Components
To start, you will need the following hardware components: ATGM336H GPS+BDS Module with Antenna, Arduino UNO, Jumpers, and a Breadboard. You can source these components from SoftTech Supply in Kigali, Rwanda. Make sure to handle the components with care, as they are sensitive electronic devices.
A safety note: when working with electronic components, make sure to avoid touching the pins or electrical paths to prevent damage or short circuits.
Wiring the ATGM336H GPS+BDS Module to the Arduino UNO
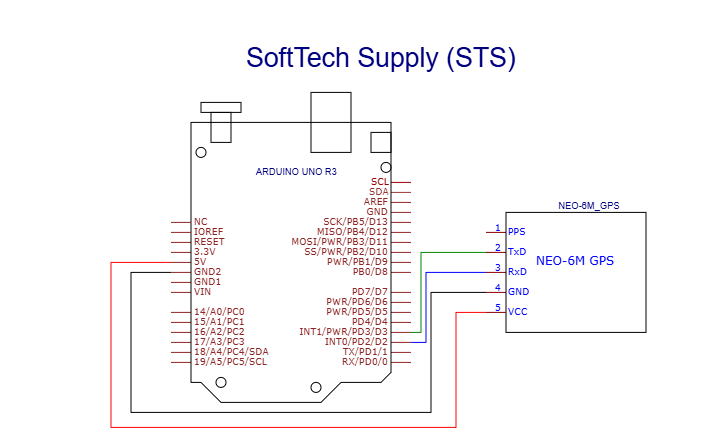
Now, let's connect the ATGM336H GPS+BDS Module to the Arduino UNO. The wiring is straightforward:
- Connect the VCC pin of the ATGM336H GPS+BDS Module to the 5V pin of the Arduino UNO
- Connect the GND pin of the ATGM336H GPS+BDS Module to the GND pin of the Arduino UNO
- Connect the TX pin of the ATGM336H GPS+BDS Module to Arduino UNO Digital Pin 2 (GPS receive pin defined as
gpsRx) - Connect the RX pin of the ATGM336H GPS+BDS Module to Arduino UNO Digital Pin 3 (GPS transmit pin defined as
gpsTx)
Use the jumpers to connect the module to the Arduino UNO, and the breadboard to organize the connections.
Firmware Upload and Configuration
Next, you need to upload the firmware to the Arduino UNO. You can use the Arduino IDE to upload the code. Create a new project, and include the following libraries: SoftwareSerial.h. Then, create a SoftwareSerial object to communicate with the ATGM336H GPS+BDS Module.
Use the following code snippet to configure the serial communication: SoftwareSerial mySerial(2, 3). Replace the pins with the actual pins you used to connect the module.
Writing the Code to Read GPS Data
Now, let's write the code to read the GPS data from the ATGM336H GPS+BDS Module. You can use the following code as an example:
The code will read the GPS data, parse the NMEA sentences, and extract the location information. You can then print the location information to the serial monitor.
Testing the Project
Once you have uploaded the code, open the serial monitor to see the location information. The serial monitor will display the latitude and longitude coordinates, as well as a link to open Google Maps with the location. The link will be in the format: https://maps.google.com/?q=-1.94536,30.05970
Make sure to place the GPS module near a window or outside to get a clear view of the sky, as this will improve the GPS signal reception.
Troubleshooting Tips
If you encounter any issues during the project, here are some troubleshooting tips:
- Check the wiring connections to ensure they are secure and not loose
- Verify that the GPS module is configured correctly and has a clear view of the sky
- Check the serial monitor for any error messages or debugging information
- Make sure to use the correct baud rate and serial configuration in the code
By following these tips, you should be able to resolve any issues and get the project working as expected.
💻 Sample Code
// ATGM336H GPS+BDS Module with Arduino Uno

#include <SoftwareSerial.h>

const int gpsRx = 2;  // Arduino RX (connect to GPS TX)
const int gpsTx = 3;  // Arduino TX (connect to GPS RX)

SoftwareSerial gps(gpsRx, gpsTx);

void setup() {
  Serial.begin(9600);
  gps.begin(9600);

  Serial.println("GPS Starting...");
}

void loop() {

  if (gps.available()) {

    String gpsData = gps.readStringUntil('\n');

    // Look for GGA sentence
    if (gpsData.startsWith("$GPGGA")) {

      Serial.println(gpsData);

      int comma[14];
      int index = 0;

      comma[index++] = -1;

      for (int i = 0; i < gpsData.length(); i++) {
        if (gpsData.charAt(i) == ',') {
          comma[index++] = i;
        }
      }

      // Extract latitude and longitude
      String latitude = gpsData.substring(comma[1] + 1, comma[2]);
      String latDirection = gpsData.substring(comma[2] + 1, comma[3]);

      String longitude = gpsData.substring(comma[3] + 1, comma[4]);
      String lonDirection = gpsData.substring(comma[4] + 1, comma[5]);

      Serial.print("Latitude: ");
      Serial.print(latitude);
      Serial.println(latDirection);

      Serial.print("Longitude: ");
      Serial.print(longitude);
      Serial.println(lonDirection);

      Serial.print("Google Maps: https://maps.google.com/?q=");
      Serial.print(latitude);
      Serial.print(latDirection);
      Serial.print(",");
      Serial.print(longitude);
      Serial.println(lonDirection);
    }
  }
}
📝 Check Your Understanding
1. What is the primary function of the ATGM336H GPS+BDS Module with an antenna in the context of this tutorial?
   a) To provide internet connectivity to the Arduino Uno
   b) To track the location and provide GPS coordinates
   c) To control the Arduino Uno's power supply
   d) To display the location on a map
   Answer: b

2. How do you connect the ATGM336H GPS+BDS Module to the Arduino Uno for serial communication in this project?
   a) Using I2C protocol through SDA and SCL pins
   b) Using SPI protocol through MOSI, MISO, and SCK pins
   c) Using UART protocol through TX and RX pins
   d) Using USB connection directly to the Arduino Uno
   Answer: c

3. What is the purpose of the jumpers and breadboard in the setup of the ATGM336H GPS+BDS Module with the Arduino Uno?
   a) To increase the voltage supply to the GPS module
   b) To reduce the current consumption of the system
   c) To facilitate easy connection and prototyping of the circuit
   d) To connect the system to the internet
   Answer: c

4. What can be observed in the serial monitor after successfully uploading the code to the Arduino Uno in this tutorial?
   a) A list of available GPS satellites
   b) The current weather conditions
   c) The link to open Google Maps with the current location
   d) The system's IP address
   Answer: c

5. What safety precaution should be taken when working with electronic components like the ATGM336H GPS+BDS Module and the Arduino Uno?
   a) Always touch the components with bare hands to discharge static electricity
   b) Use the components near water or in humid environments
   c) Avoid touching the components to prevent static electricity damage
   d) Connect the system directly to mains voltage without a regulator
   Answer: c
Need the Components for This Project?
If you don't already have the components listed above, you can buy genuine Arduino, ESP32, Raspberry Pi, sensors, and other electronic components from SoftTech Supply Shop, with fast delivery across Kigali and other parts of Rwanda.
← Browse more Arduino & IoT tutorialsRelated Tutorials
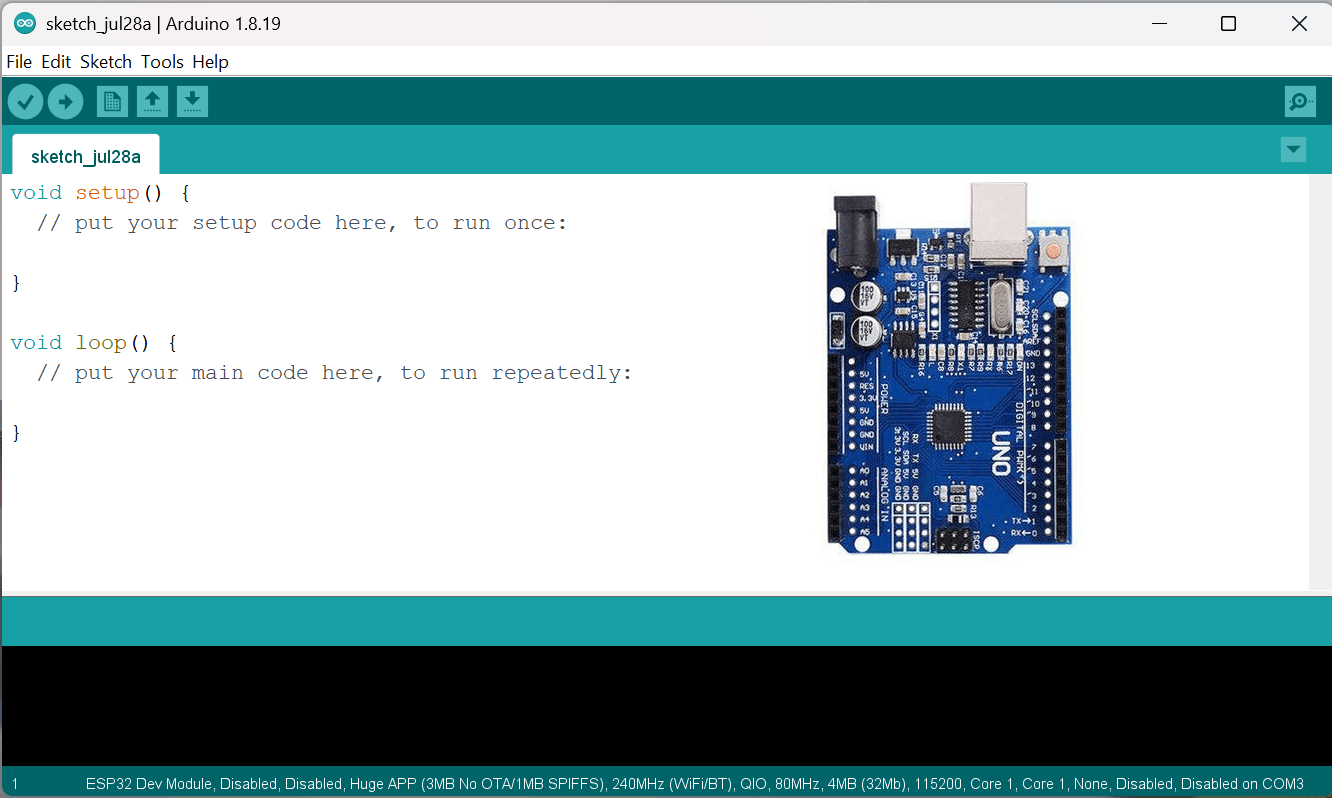
How to Install the Arduino IDE and Get Started on Your Computer
Computer, Internet connection, Arduino Uno R3 With USB Cable
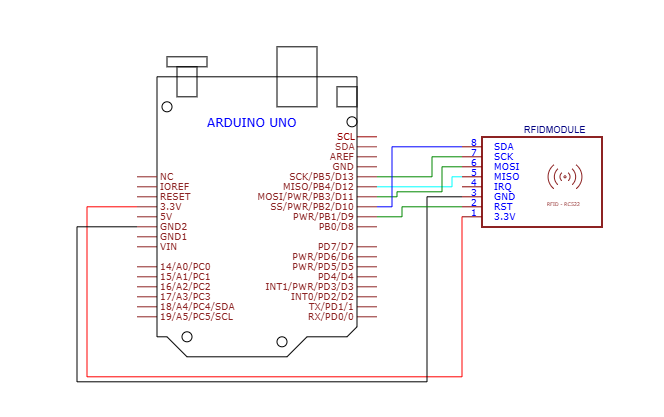
How to use RFID Reader Module 13.56Mhz with an Arduino UNO
RFID Reader Module 13.56Mhz, Arduino Uno R3 With USB Cable, Male to Male Jumper Wires, Breadboard 830 Point Solderless
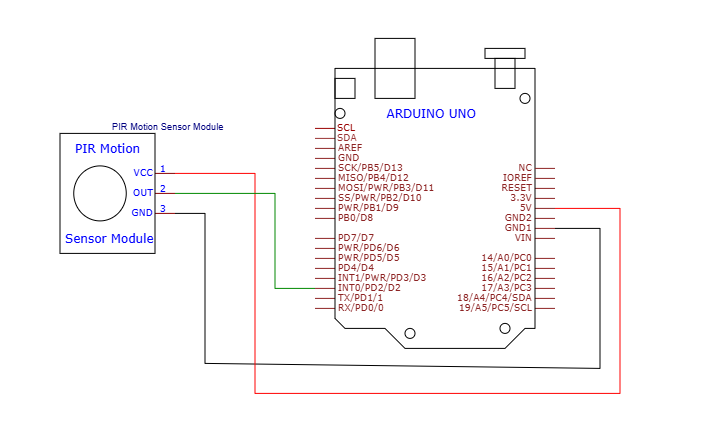
How to Use the HC-SR501 PIR Motion Sensor Module with an Arduino Uno
Arduino Uno R3 With USB Cable, Male to Male Jumper Wires, Breadboard 830 Point Solderless, HC-SR501 PIR module Sensor Detector Module
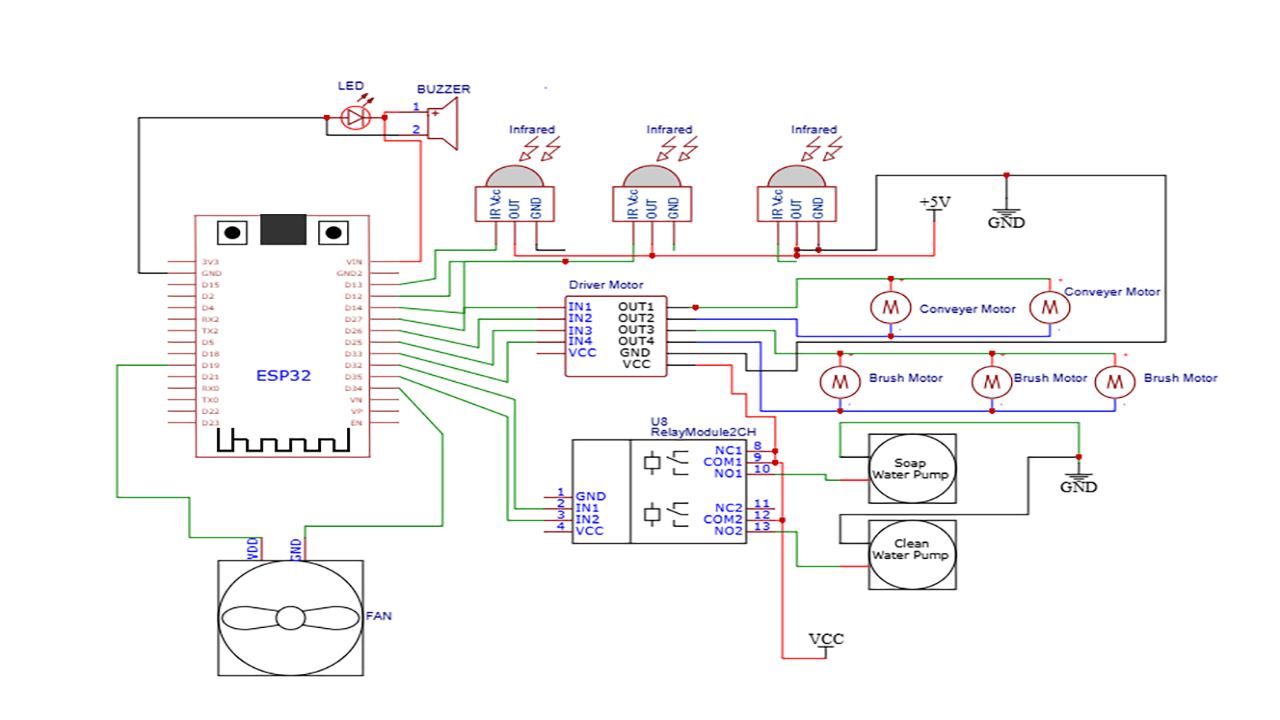
How to build ESP32-based automatic car wash system
The hardware components used in the automatic car wash system include one, ESP32 Development Board (ESP32-WROOM-32 DevKit), Infrared Obstacle Avoidance Tracking Sensor Module, L298N Motor Driver, Single Channel 5v Relay Module, SUBMERSIBLE WATER PUMP DC 3V-5V, YD8010 Cooling Fan 5V, 3MM LED Red, 5V active buzzer, 5V 2A Power Adapter, 12VDC 2A Adapter charger, Male to Male Jumper Wires, Breadboard 830 Point Solderless, terminal blocks or connectors, one main power switch, one fuse for power protection, and mounting hardware such as screws, nuts, and standoffs.