How to connect GSM SIM800L with Arduino Uno to send an SMS or make a Call
📖 Overview
In this hands-on tutorial, students will learn how to connect the GSM SIM800L module with the Arduino Uno board to send an SMS or make a call. This project is ideal for beginners who want to explore the world of wireless communication and Internet of Things (IoT) applications. By the end of this tutorial, students will be able to connect the SIM800L module with the Arduino Uno and write a simple program to send an SMS or make a call.
The SIM800L module is a popular and affordable GSM/GPRS module that can be used in a variety of applications, including agriculture, security, and smart-home solutions. In the context of Rwanda and East Africa, this module can be used to develop innovative solutions such as automated weather stations, crop monitoring systems, and emergency response systems. Students will learn how to source the necessary components, including the SIM800L module and Arduino Uno board, from local electronics shops like SoftTech Supply in Kigali.
Through this project, students will gain hands-on experience with:
- Connecting the SIM800L module with the Arduino Uno board using male to female jumper wires
- Writing a simple program to send an SMS or make a call using the SIM800L module
- Understanding the basics of wireless communication and IoT applications
This project is useful for students who want to develop practical skills in electronics and programming, and apply them to real-world problems. The skills and knowledge gained from this project can be applied to a wide range of applications, from simple automation systems to complex IoT solutions. By learning how to connect the SIM800L module with the Arduino Uno, students will be able to develop innovative solutions that can make a positive impact in their communities.
🔌 Components & Wiring Guide
Components & Wiring Guide
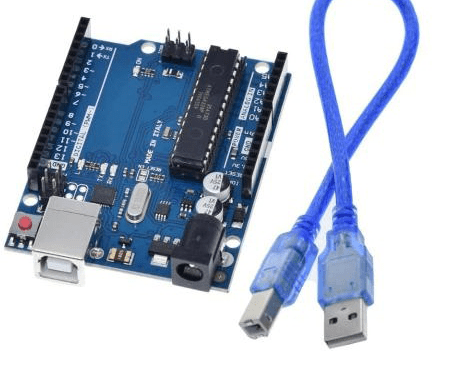
The following components are required for this project:- Arduino UNO R3 removable IC Chip with USB CABLE - Main microcontroller board
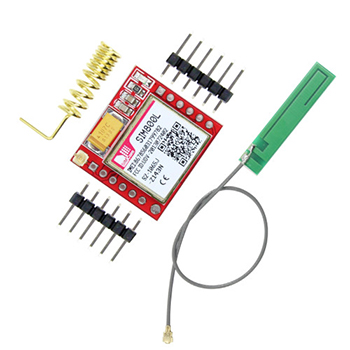
- Smallest SIM800L GPRS GSM - Module for GSM communication
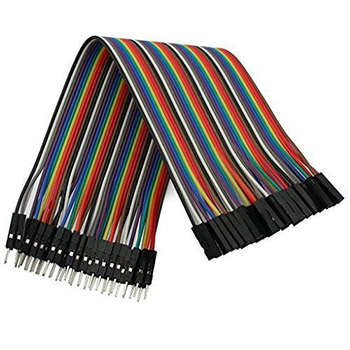
- Male to Female jumper wires - For connecting the SIM800L to the Arduino UNO
Wiring Connections
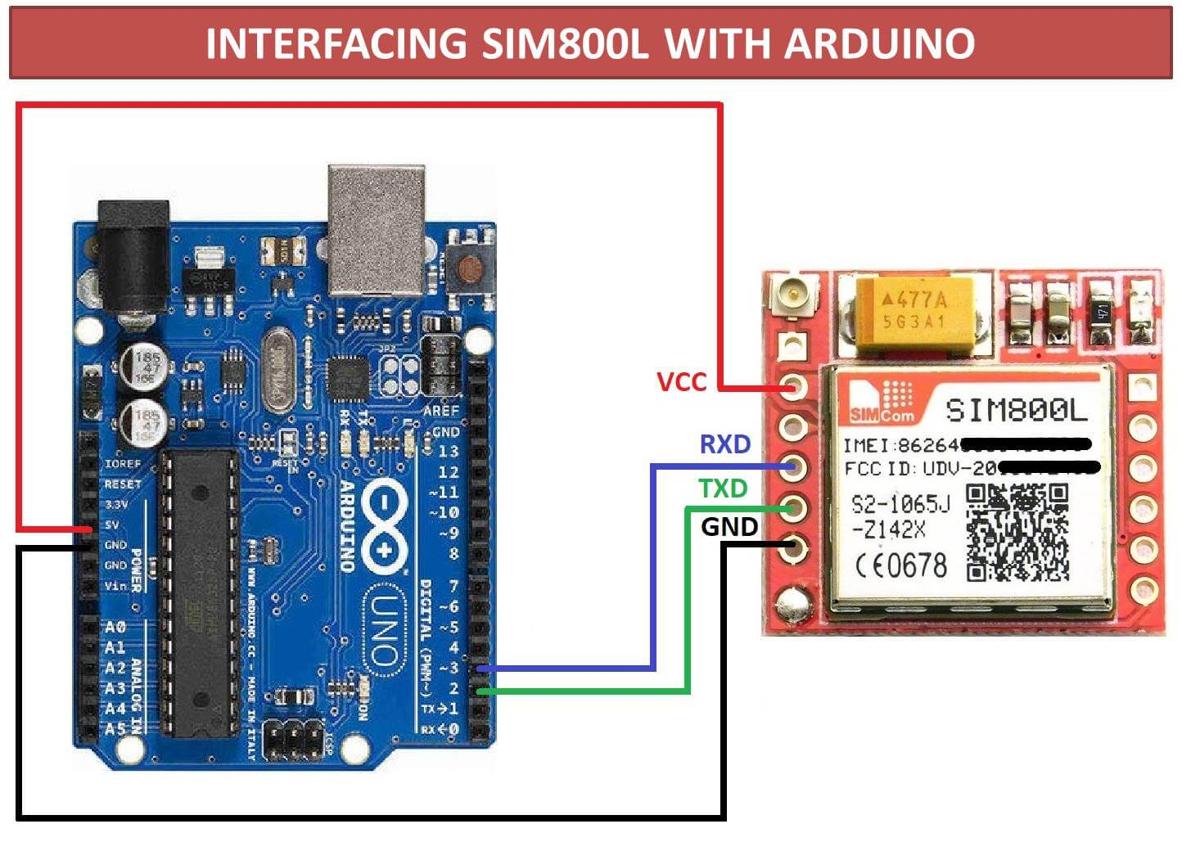
To connect the SIM800L to the Arduino UNO, follow these steps: First, connect the VCC pin of the SIM800L to the 3.7V pin on the external power source (you can also connect it to 5V on the Arduino Uno, but most of the time it fails) using a male to female jumper wire. Next, connect the GND pin of the SIM800L to the GND pin on the Arduino UNO using another male to female jumper wire. Then, connect the TX pin of the SIM800L to the RX pin (pin 0) on the Arduino UNO. After that, connect the RX pin of the SIM800L to the TX pin (pin 1) on the Arduino UNO.Additional Connections
You may also want to connect the SIM800L to an external power source, especially if you are using a SIM card that requires a lot of power to operate. You can do this by connecting the VCC pin of the SIM800L to an external power source, such as a battery or a wall adapter, using a male to female jumper wire. Make sure to use a voltage regulator to regulate the voltage to 3.7V, as the SIM800L requires a 3.7V power supply.Table of Connections
The following table summarizes the connections:| Component | Pin | Connects to | Pin |
|---|---|---|---|
| SIM800L | VCC | Power supply | 3.7V |
| SIM800L | GND | Arduino UNO | GND |
| SIM800L | TX | Arduino UNO | RX (pin 0) |
| SIM800L | RX | Arduino UNO | TX (pin 1) |
Safety Note
When working with the SIM800L and Arduino UNO, make sure to handle the components with care, as they can be damaged easily. Also, make sure to use a voltage regulator when connecting the SIM800L to an external power source, as excessive voltage can damage the module. It is also recommended to use a breadboard to connect the components, as this will make it easier to connect and disconnect the wires.🛠️ Step-by-Step Guide
Introduction to GSM SIM800L and Arduino Uno
In this tutorial, we will explore how to connect the GSM SIM800L with the Arduino Uno to send an SMS or make a call. The GSM SIM800L is a compact module that allows for cellular communication, while the Arduino Uno is a popular microcontroller board. This combination is particularly useful in Rwanda and East Africa for applications such as agricultural monitoring, security systems, and smart home solutions.
Setting Up the Hardware Components
To start, you will need the following hardware components: Arduino UNO R3 removable IC Chip with USB CABLE, Smallest SIM800L GPRS GSM, and Male to Female jumper wires. You can source these components from SoftTech Supply in Kigali, Rwanda. Make sure to handle the components with care, as they are sensitive to static electricity.
Wiring the GSM SIM800L with Arduino Uno
Now, let's proceed with wiring the GSM SIM800L with the Arduino Uno. The connections are as follows:
- VCC to 3.7
- GND to GND on the Arduino Uno
- TXD to PIN 2 on the Arduino Uno
- RXD to PIN 3 on the Arduino Uno
Uploading the Firmware
To communicate with the GSM SIM800L, you will need to upload a firmware to the Arduino Uno. You can use the Arduino IDE to upload the firmware. First, connect the Arduino Uno to your computer using the USB cable. Then, open the Arduino IDE and select the correct board and port. You can use the following code to test the connection: Serial.println("Hello, World!");. Upload the code to the Arduino Uno and open the serial monitor to see the output.
Testing the GSM SIM800L with Arduino Uno
Once the firmware is uploaded, you can test the GSM SIM800L with the Arduino Uno. Use the following code to send an SMS:
- Initialize the serial communication with the GSM SIM800L
- Set the SIM800L to SMS mode
- Specify the recipient's phone number
- Send the SMS message
- Initialize the serial communication with the GSM SIM800L
- Set the SIM800L to call mode
- Specify the recipient's phone number
- Make the call
Troubleshooting Tips
If you encounter any issues during the setup or testing process, here are some troubleshooting tips:
- Check the wiring connections to ensure they are secure and not loose
- Verify that the SIM card is inserted correctly and has a valid subscription
- Ensure that the Arduino Uno is properly connected to the computer and the serial monitor is open
- Check the code for any syntax errors or incorrect pin assignments
Safety Note
When working with electronic components, it's essential to take safety precautions to avoid any accidents. Make sure to handle the components with care, and avoid touching any of the pins or wires. If you're working with mains voltage, high current, or heat, ensure that you take necessary safety measures to prevent any injuries or damage.
💻 Sample Code
### Introduction to GSM SIM800L and Arduino Uno Connection
To connect the GSM SIM800L with the Arduino Uno, we will use the following components: Arduino UNO R3 removable IC Chip with USB CABLE, Smallest SIM800L GPRS GSM, and Male to Female jumper wires.

### Step 1: Connect the GSM SIM800L to the Arduino Uno
Connect the GSM SIM800L to the Arduino Uno as follows:
* VCC to 3.7V (Here you can use external power supply)
* GND to GND on the Arduino Uno
* RX to 3 on the Arduino Uno (pin 3)
* TX to 2 on the Arduino Uno (pin 2)

### Step 2: Insert the SIM Card and Antenna
Insert a SIM card into the SIM800L module and connect an antenna to the module.

### Step 3: Upload the Code
Upload the following code to the Arduino Uno:


#include <SoftwareSerial.h>

//Create software serial object to communicate with SIM800L
SoftwareSerial mySerial(2, 3);

void setup() {
  Serial.begin(9600);

  mySerial.begin(9600);

  Serial.println("Initializing...");
  delay(1000);

  mySerial.println("AT");
  updateSerial();

  mySerial.println("AT+CMGF=1");  // Configuring TEXT mode
  updateSerial();
  mySerial.println("AT+CMGS=\"+250789775066\"");
  updateSerial();
  mySerial.print("Hello, This is SoftTech Supply SMS Testing code!");  //text content
  updateSerial();
  mySerial.write(26);
}

void loop() {
}

void updateSerial() {
  delay(500);
  while (Serial.available()) {
    mySerial.write(Serial.read());  //Forward what Serial received to Software Serial Port
  }
  while (mySerial.available()) {
    Serial.write(mySerial.read());  //Forward what Software Serial received to Serial Port
  }
}


### Safety Note
When working with the GSM SIM800L and Arduino Uno, make sure to handle the components with care and avoid touching any of the pins or electrical connections. The SIM800L module requires a SIM card and antenna to function, and the Arduino Uno should be connected to a computer via a USB cable. If you are not comfortable with the connection process, it is recommended to seek assistance from a qualified instructor or technician.

### Tips for Students
* Make sure to use the correct pins for the serial connection between the SIM800L and the Arduino Uno.
* Use a valid SIM card and antenna for the SIM800L module.
* Test the code and connection by sending an SMS or making a call to a phone number.
* Use the serial monitor to check for any errors or responses from the SIM800L module.
* Be patient and careful when working with the components and code.
📝 Check Your Understanding
1. What is the primary function of the SIM800L module in the context of this project?
   a) To connect to the internet via Wi-Fi
   b) To send and receive SMS messages and make calls using a GSM network
   c) To control the Arduino board's power supply
   d) To interface with sensors and actuators
   Answer: b

2. Which of the following Arduino Uno pins is typically used to connect to the RX pin of the SIM800L module?
   a) Pin 0 (RX)
   b) Pin 1 (TX)
   c) Pin 2 (Interrupt)
   d) Pin 13 (LED)
   Answer: a

3. What is the recommended voltage range for the SIM800L module?
   a) 3.3V to 4.5V
   b) 4.5V to 5.5V
   c) 5V to 6V
   d) 6V to 9V
   Answer: a

4. To send an SMS using the SIM800L module, what command is typically sent to the module from the Arduino?
   a) AT+CALL
   b) AT+SMS
   c) AT+CMGF=1
   d) AT+DIAL
   Answer: c

5. What should be done before connecting the SIM800L module to the Arduino Uno to avoid damage to the module?
   a) Connect the power supply to the SIM800L module
   b) Connect the RX and TX pins to the Arduino
   c) Ensure the SIM800L module is set to the correct baud rate
   d) Insert a valid SIM card into the SIM800L module and ensure the power supply voltage is within the recommended range
   Answer: d
Need the Components for This Project?
If you don't already have the components listed above, you can buy genuine Arduino, ESP32, Raspberry Pi, sensors, and other electronic components from SoftTech Supply Shop, with fast delivery across Kigali and other parts of Rwanda.
← Browse more Arduino & IoT tutorialsRelated Tutorials
Build a Wi-Fi Weather Station with ESP32
ESP32 ESP-32 Wireless WiFi Bluetooth Development Board, DHT22 Digital Temperature & Humidity Sensor Module, 0.96" Inch Blue I2C IIC OLED LCD Module4pin, Breadboard 830 Point Solderless, Male to Female jumper wires
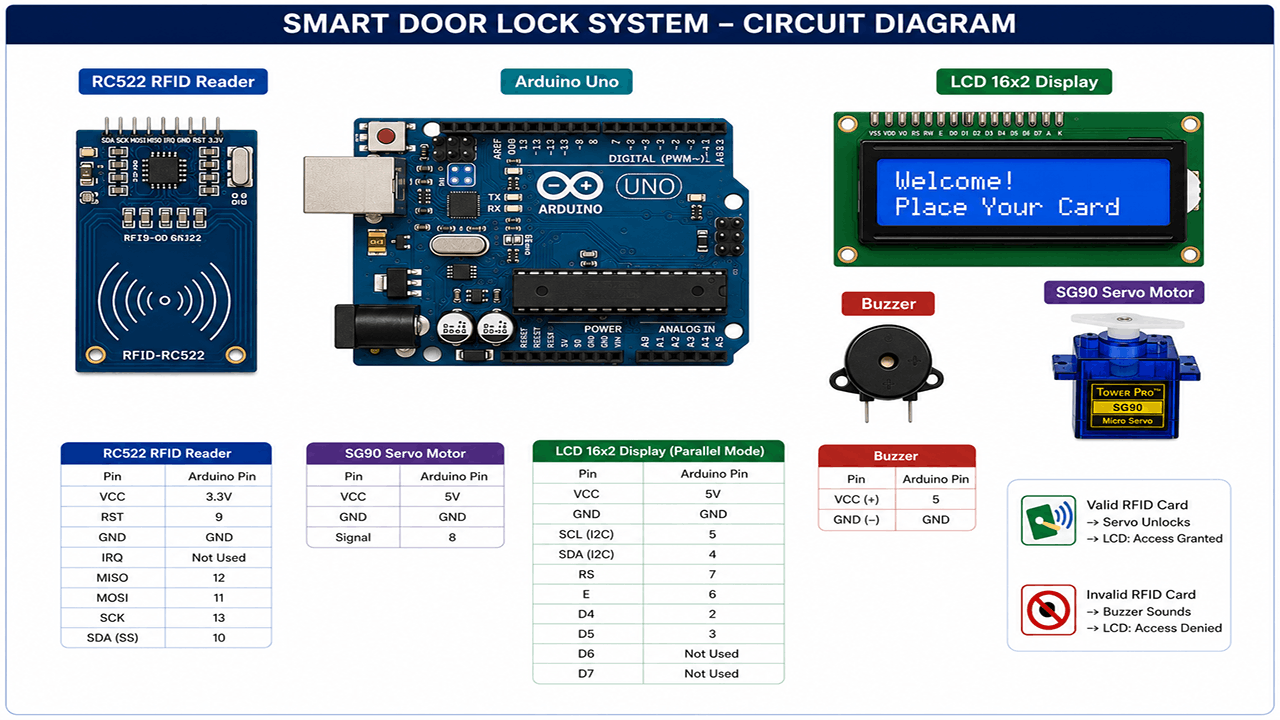
Smart Door Lock with RFID and Servo Motor
Arduino UNO R3 removable IC Chip with USB CABLE, RFID Reader Module 13.56Mhz, SG90 9g Mini Micro Servo Motor, 16x2LCD Display with I2C Interface, 5v active buzzer, Breadboard 830 Point Solderless, Male to Male Jumper Wires
How to Install the Arduino IDE and Get Started on Your Computer
Computer, Internet connection, Arduino Uno R3 With USB Cable
How to use ESP8266 NodeMCU V3 Wireless module to connect to WiFi
ESP8266 NodeMCU V3 Wireless module + USB cable